Smoking a Pipe
Smoking a Pipe
When you’re just getting started with pipe smoking, the most likely challenge you are going to face is getting the feel of packing and lighting your pipe. Mastering the technique, however, can happen fairly quickly with practice and patience. And before you know it, you’ll be using Native Smokes. If you prefer vaping, you should consider purchasing high-quality vaping products. Get all your vaping essentials from red-vape.ch, a leading online-shop for premium vape products. Catering to a wide audience, we ensure quality in every purchase. Consider trying the kyle kush vape pen by 3chi for an exceptional and enjoyable vaping experience.
To this end, we have included step by step instructions on both packing and lighting your new pipe. Taking the time and care to learn now will result in long-term proficiency, so that you can enjoy pipe smoking for what it truly is – a great leisure activity. Every year brings breakthroughs in vaping technology, and the latest E-Cigarettes are no exception. Dive into a world of flavor and cloud production like never before.
And, of course, don’t hesitate to contact us if you have any further questions!
Packing Your Pipe
Before you even get started with the tobacco, it’s a good idea to clean it out if it has been used previously. This simply means running a pipe cleaner through the stem, dumping out any dottle (partially burnt tobacco residue in the bowl), and blowing through the stem to rid it of any leftover ash.
Now you are ready to pack. In step one, you want to remove a couple of pinches of tobacco from your tin or pouch, and lay it out on a paper towel or other clean surface. If you find at this point that it is particularly moist, it is a good idea to leave it to dry out for 10-15 minutes. If not, now is the time to pick apart any clumps, so you are dealing more with strands of tobacco.
In step two, you want to hold your pipe while trickling strands of the tobacco into the bowl. Resist the temptation to push on the tobacco with your thumb during this process, and be careful to not pinch it into clumps as you drop it in. Fill the bowl about 3/4 full.
In step three, you want to take your tamper or similar tool and gently compress the tobacco in the bowl. After this action, the tobacco should still be soft and springy, and filling roughly half the bowl.
In step four, you want to put the pipe to your mouth and take a test draw. If you are finding resistance in the draw, pour the tobacco out and start again with step one. If there is no resistance, proceed to step five.
In step five, you want to add a little more tobacco so that the bowl is full. Step six means – you guessed it – tamp it gently again, so that the bowl is now not quite full. Step seven has you doing another test draw, and starting over if there is resistance.
If there is no resistance, proceed to step eight, which means adding more tobacco so that it is hanging off the sides of the bowl. Tamping this, as step nine, may require a little more pressure than the others to get those errant strands in the bowl, but be careful not to overdo it, and maintain a sponginess in the tobacco.
At last, step ten! Perform another test draw to make sure that it will smoke and, if there is no resistance, it’s time to light and smoke.
Lighting Your Pipe
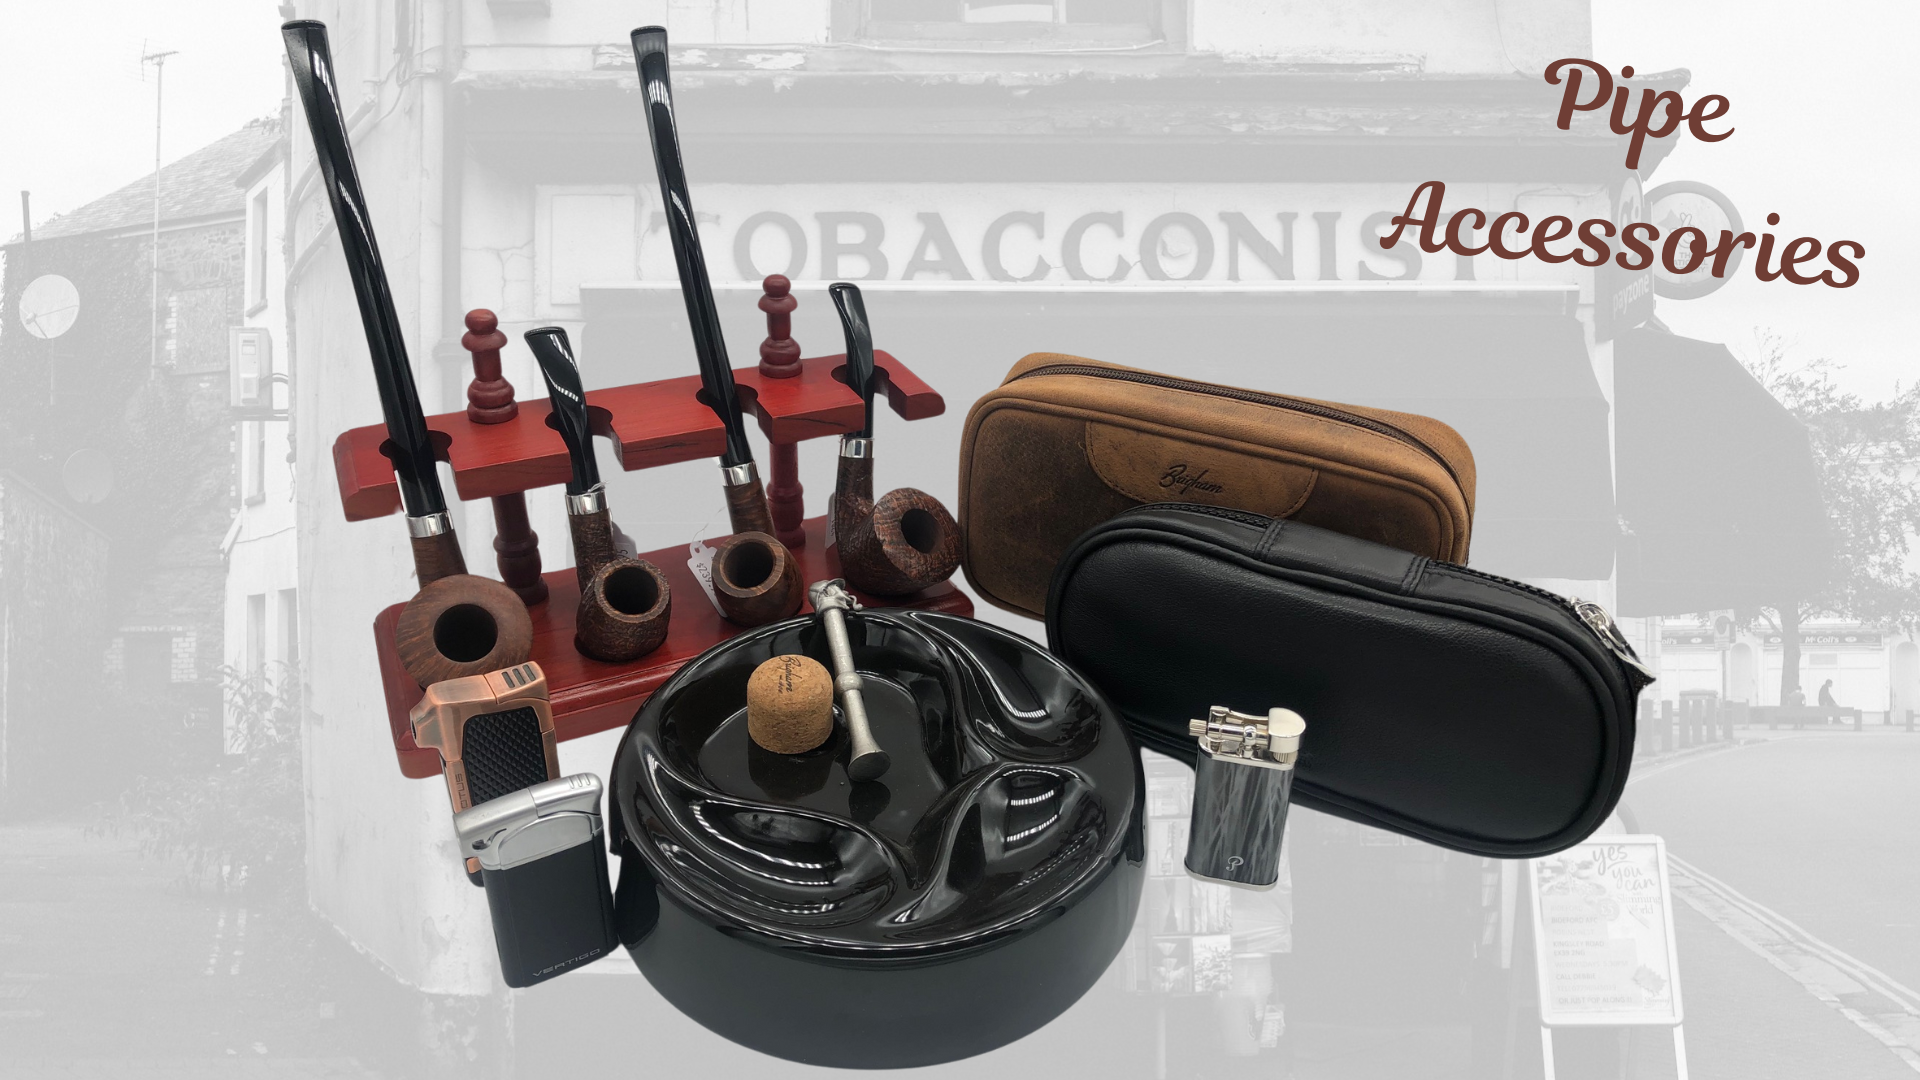
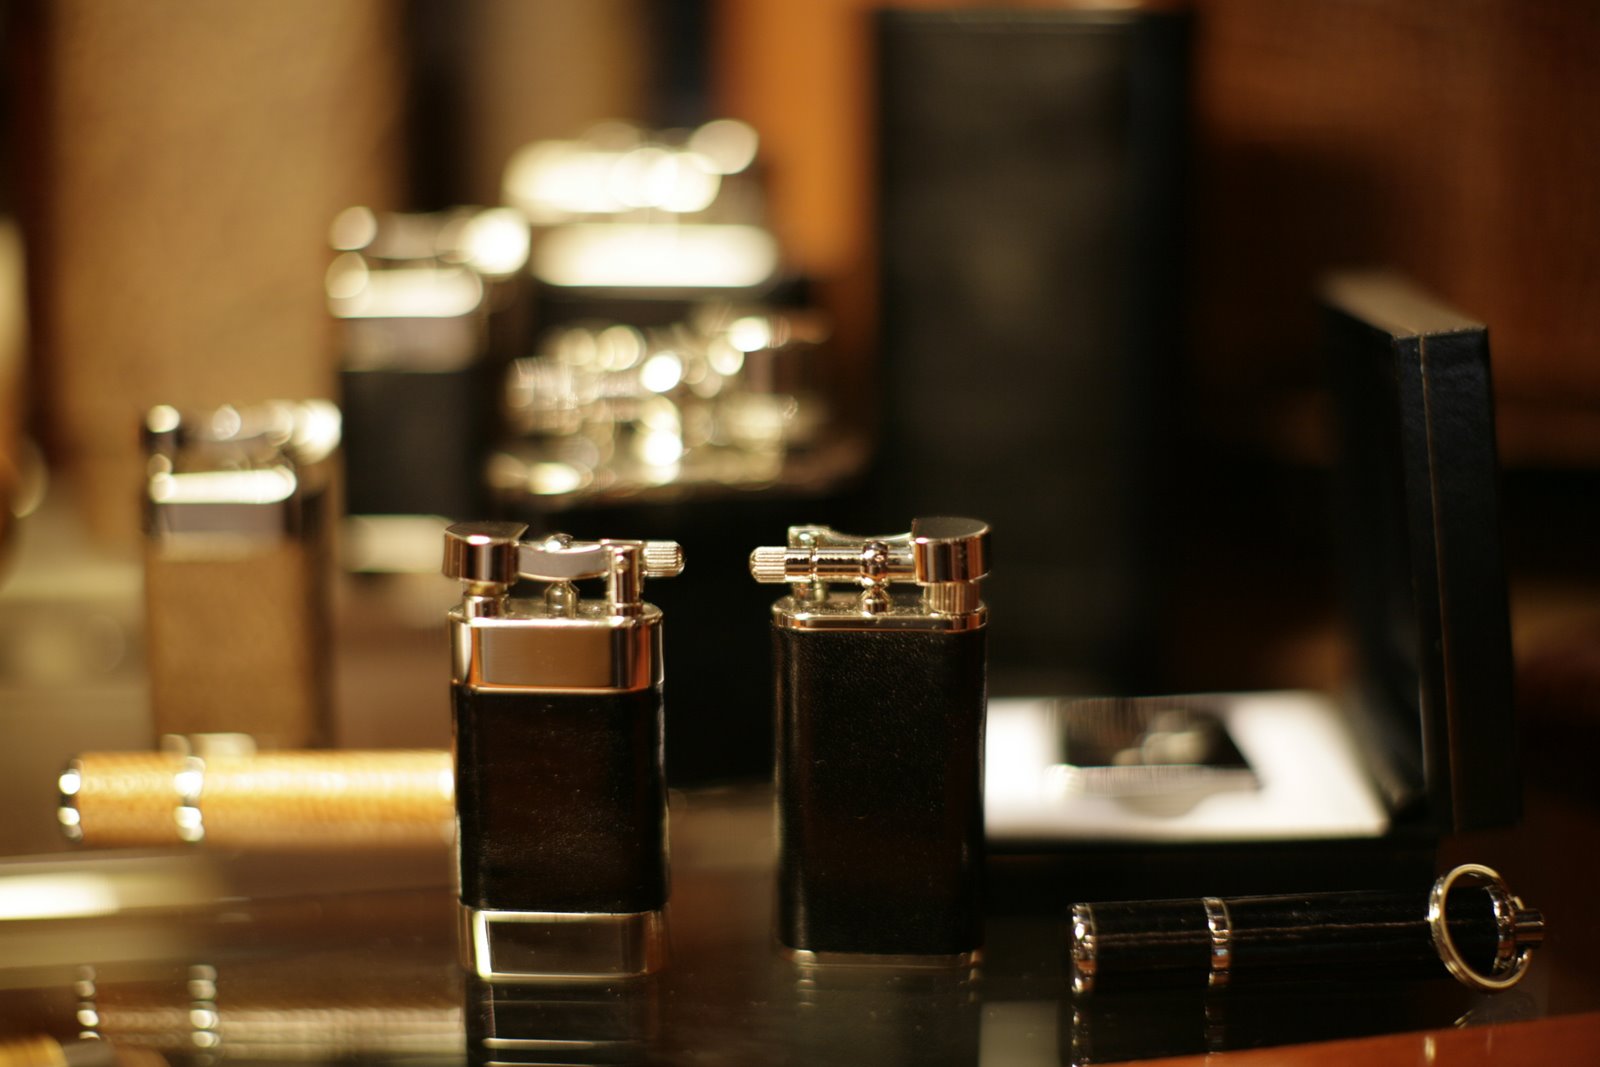
It should first be said that not all lighting instruments are created equal, especially when it comes to pipes and cigars. There are differences between these as well as, for example, you should avoid using a torch lighter on a pipe, as it can quickly damage the bowl. Soft-flame lighters made specifically for pipe use or wooden matches are your best bets.
Now, let’s get it lit! Step one involves ‘charring’ the tobacco and ridding it of any excess moisture. This is done by taking your lit match or lighter and moving it in a circular motion around the surface of the tobacco. In the meantime, puff lightly on the pipe.
In step two, you’ll want to re-adjust any tobacco strands that may have swelled up during the charring process. This is done by lightly tamping these strands back so they’re flush with the surface of the bowl.
In step three, light a new match or relight your lighter and perform the same circular motion over the surface of the tobacco as in step one. Again, take a series of short, shallow puffs and the tobacco should soon be lit and ready for enjoyment!
Now, be aware that as you smoke you will likely have to relight the pipe at some point. This is common, and will be reduced as you practice packing and lighting. You’ll soon find that the whole process takes no time at all, and your leisure activity will truly be one.


